

Whether you like cooler weather or not, fall coming around the corner means one snuggly thing for certain- quilt season.

I have been fortunate to receive a few old quilts, mostly made by my husband's grandmother, and love love love them. The quilts I really like are the ones that have been used and worn.
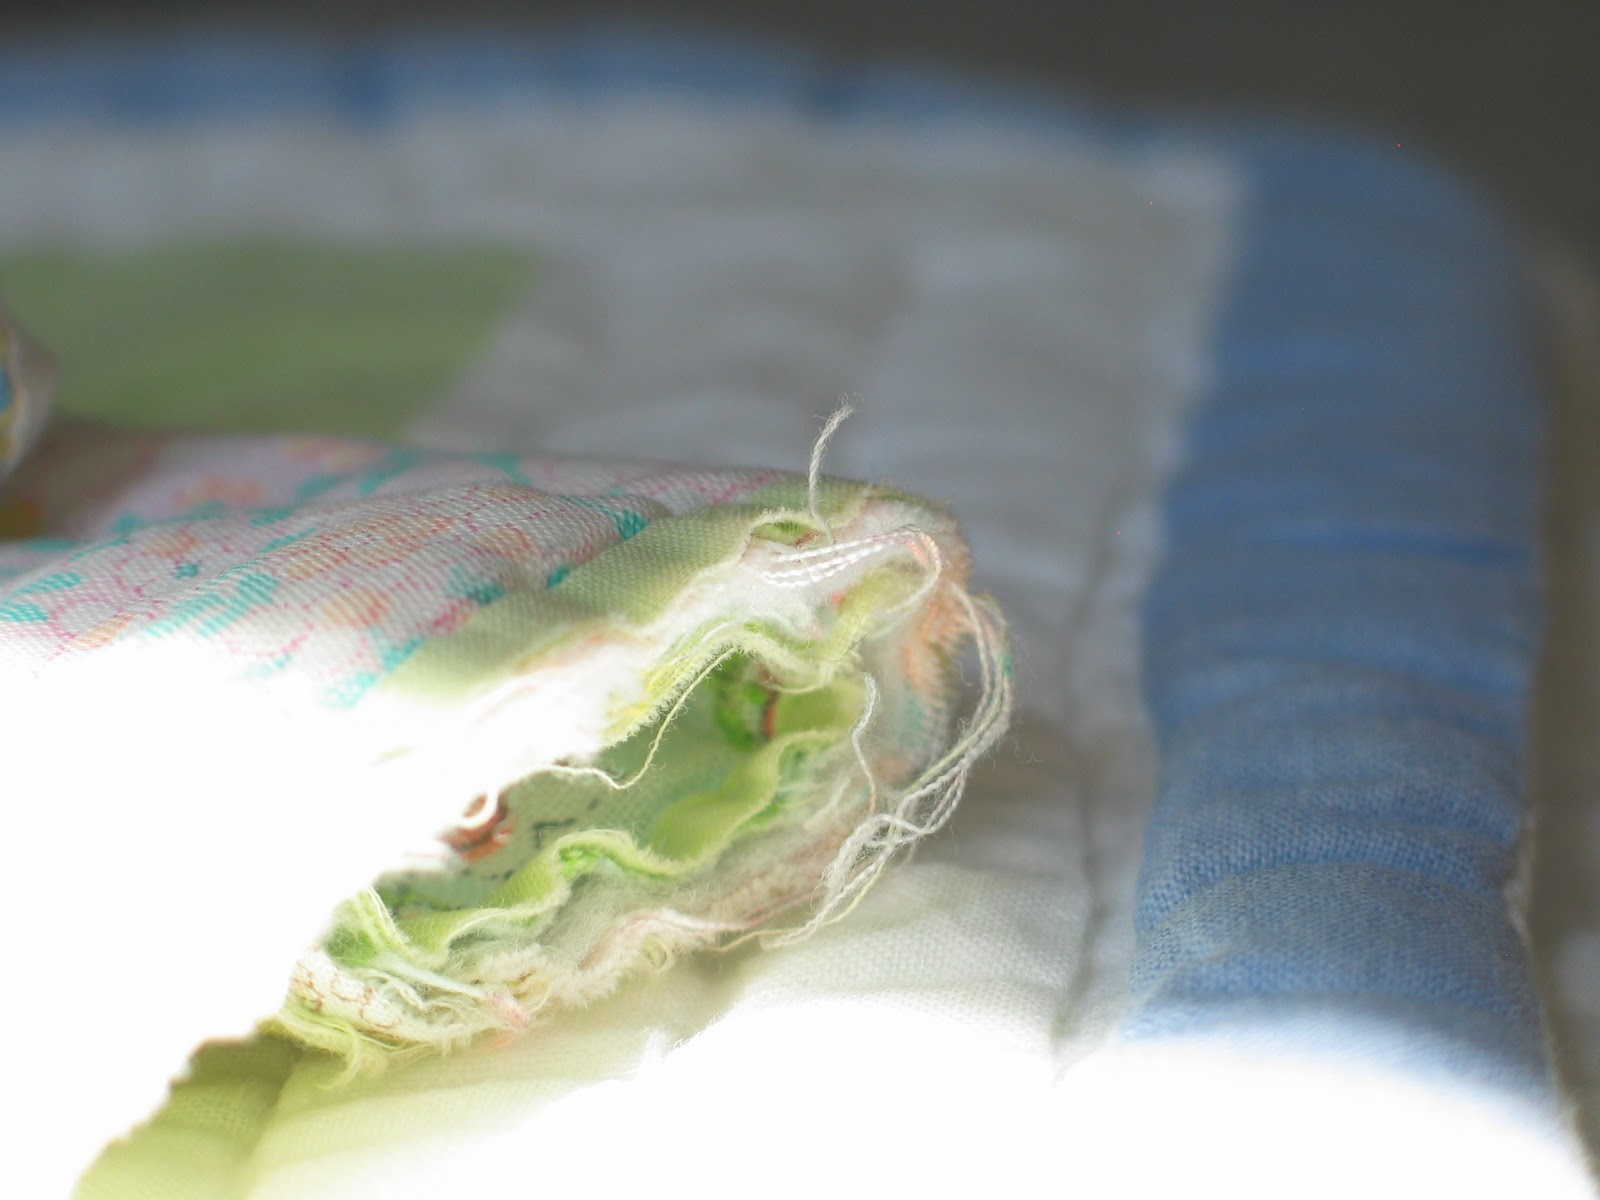
Those frayed edges and pulled seams speak of years of warmth and comfort. I can just imagine my husband as a little kid being tucked in by his mom for the night, maybe his tummy already warmed by some of Granny's fabulous soup for a cold and fever. Or maybe he played outside in the snow all day, building snow forts, hurling snow bombs at his brothers, chasing dogs and cows through the drifts. There's no better way to end a day like that than to have a warm bath and fall exhausted into bed under a pile a quilts.

Maybe these quilts have been on hundreds of picnics, providing a soft and colorful place to spread out the bounty and chow down. Then you spread yourself out on the quilt, arms behind your head, and doze off- tummy full, heart happy- after gazing at the clouds or talking about nothing much with someone dear to you.

Though I love to sew, I've never made a quilt. The time and where-with-all have always eluded me. But some day ....
In the mean time, I play with paper and scissors. Until that happy day when I can snuggle under a handmade quilt of my own, I'll be content with ...

Paper Quilts. Ok, not as warm or snuggly but still full of color, pattern, and endless possibilities. Let's get started.

The quilt squares I have been making are 12 inch square, mainly because that size fits nicely into an LP Album frame, which is 12.5 inches square.
For this size project, you'll need:
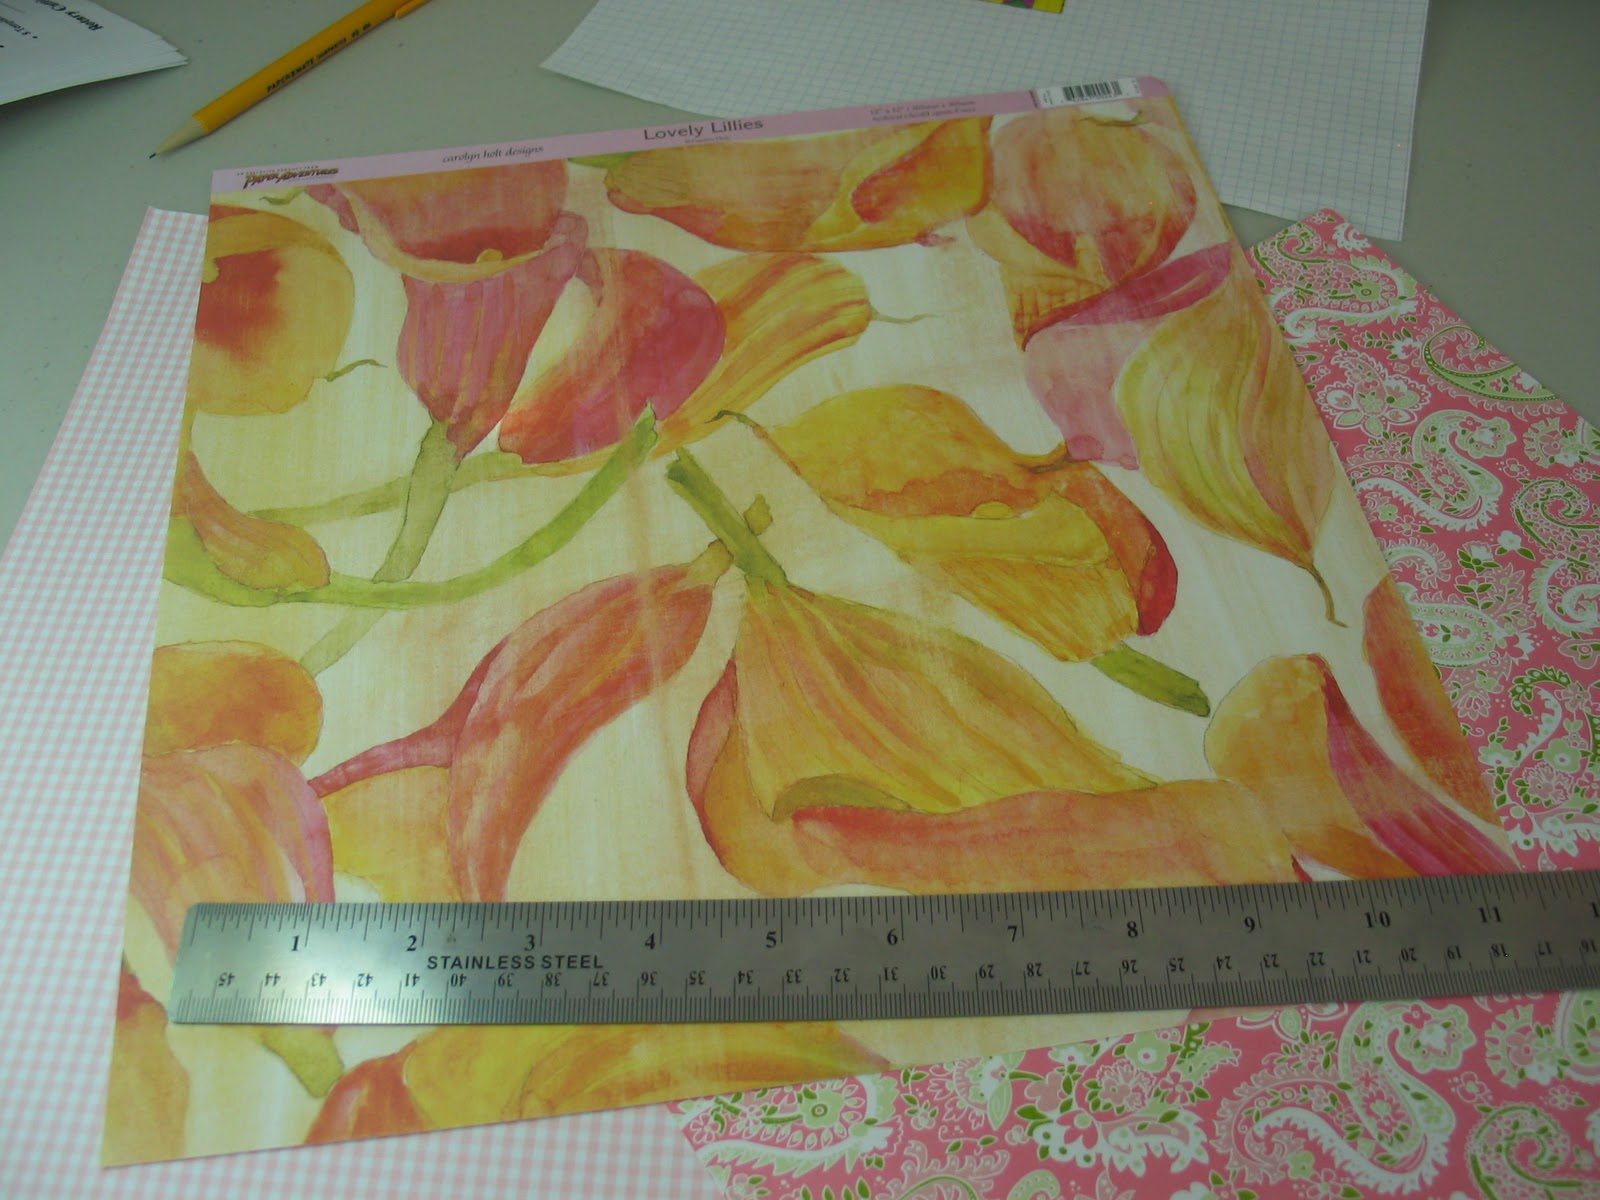
Background paper to serve as the "base". I used posterboard.
Scrapbook paperGlue stick
ruler
pencil
I picked this size and pattern to use with my patients as it gives nice big squares to handle, cuts easily and quickly, and makes good use of the scrapbook paper with little waste.

An even easier block for beginners is Shoo Fly, shown to the left.
Both are what's called nine patch quilt blocks because they consist of three rows of three blocks.

Beautifully, the variations and possibilities are endless even if you use the same colors for every variation.

Cut a 12.5 inche piece of poster board so it will ift nicely into your frame.

Then draw a 12 inch square onto the posterboard, leaving a 1/4 inch edge in each side.

Divide the 12 inch square into a nine patch of 4 inch squares.

About selecting your papers---
I'm no quilting expert but just a couple of comments:
A nice bold pattern with a solid works well ...

... as does a nice bold pattern with a smaller coordinating pattern.

Patterns that are each busy, even though on different scales, can be tricky and my approach is just to experiment and see what jumps out at me. Isn't that half the fun?


Some papers have a coordinating color or pattern on the back, which is nice if you lock up and can't make a decision. I've been there.
My last comment is that the gorgeous piece of paper you totally love ...

... might not work well when cut down to a 4 inch square or 2 inch triangle. But again, it depends on the look you want and maybe the color and suggestion of the pattern are perfect for you.

For the Ohio Star, you need 3 four inch squares of color A, in this case pink,
and 6 four inch squares of color B, in this case green.

Use a paper cutter or a rolling cutter to cut your pieces, unless you are gifted with a really steady hand.

Be sure to cut your triangles straight from corner to corner. Just like with sewing and so many other projects, the initial cutting is so important to do well.

Cut 2 of the color A (pink) squares into 4 trianlges each and
cut 2 of the color B (green) squares into 4 triangles each.

Making sure that your grid and the paper pieces are square, start gluing your quilt together, beginning in the center of your block.

A good coat of glue is important but it is very important to get that glue all the way out to the edges so that your quilt doesn't start to peel. I know, old frayed quilts are comfy and homespun but for paper quilts, well, I suppose there's something there that could be done.
Keep your block pattern handy and work your way out from the center until you're done.


West Virginny Moonshine, an original block by Marcia Hohn.

Friendship Block
I've been saving the 40% and 50% off coupons from Michaels each week and buying album frames (yes, one each week) for a project that involves paper quilt blocks and a large wall in my foyer. Hmmmm, what could it be?
Of course I'm thinking just now about how one of these would look decoupaged to the top of a little square end table. Or maybe a bunch of smaller ones on a dresser top, hall table, changing table....

I did this project a couple of years ago with some patients and we ended up with a really nice paper quilt for our wall. Some of these folks were pretty good.


We used stickers as appliques. Pretty slick trick.
Here's a quick list of links for quilt blocks and related information:
Quilter's Cache- this is Marcia Hohn's site and she must not do any housework because there are a cagillion blocks here.

A national, grassroots charity whose mission is to raise awareness of and fund research for Alzheimer's.
So give this fun project a try and I would love to see how it comes out!

No comments:
Post a Comment