

In my previous post, I showed you how to make this Ribbon Picture frame.
Today let's take at look at how I finished the back of the frame. Of course this step is totally optional but I'm a bit obsessive about things you can't see so I like to cover the back.
You need --- felt and glue- pretty basic stuff.

Outline your frame, inner and outer edges, onto the felt. It's best to do this before you start painting the frame or by using another unfinished frame.

Cut the felt backing out a bit smaller than your outline marks (dotted lines illustrate). This keeps the backing from being too big and overlapping the edges, thus showing on the front.
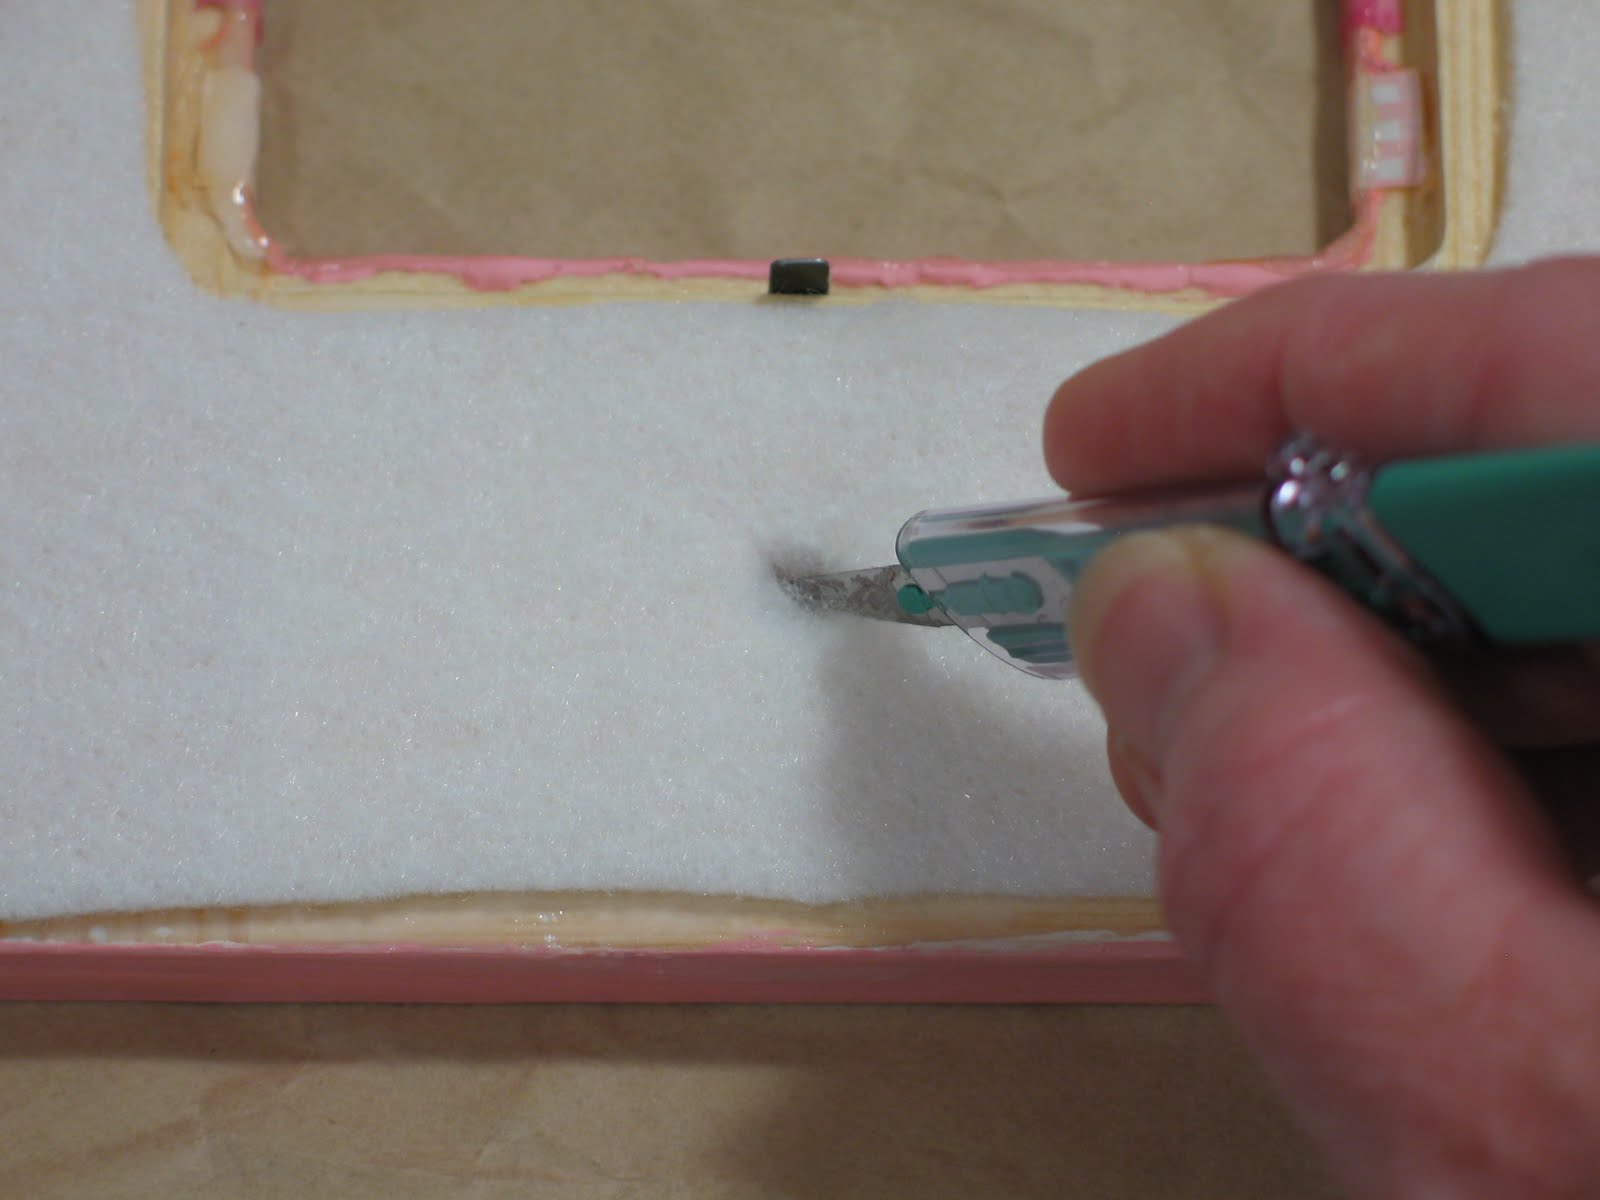
Mark the peg hole and snip a little "X" out on the felt. I just placed the cut out felt backing over the frame and used an Exacto knife to make the hole.

Add glue or Mod Podge and spread it out with a brush and then...

... adhere your felt to the back of the frame. You can adjust and smooth the felt while it is still wet.

Don't forget to sign your work!

No comments:
Post a Comment