Showing posts with label Halloween. Show all posts

Thursday, October 27, 2011

Terra Cotta Goodie Pumpkins


OK, so I was a bit pre-mature with my last post when I stated that it was my token, thereby meaning "only", Halloween post. Just wanted to quickly share these little pumpkin goodie "bags" I made to take to work on Monday for our little staff shin-dig. These are made with the two smallest terra cotta clay pots- 1 1/2" and 2 1/2". Paint them orange and black or use chalkboard paint, which I did with these. You could use regular black paint and decorate with the silver metallic sharpie if you wanted to but the chalkboard paint is so much fun!


I laid green tissue paper over the top and added candy corn (mmm...), encouraging the weight of the candy to pull the tissue down into the pot, which lets you fit the bundle to the size of the pot better, meaning it fits better in the pot than making a bundle and then trying to cram it into the pot. Which really means you can fit in more candy corn! Tie up the top with curly ribbon and there you go.


I don't remember since I already had the tiny little pots but they cost something like 25 cents. Easy and cheap.


So if you need something to put by place settings or give out to co-workers, easy easy.


So that's it for today- see ya next time.

Sunday, October 23, 2011

This Year's Token Halloween Post

OK, here it is- this year's Halloween post. While I've been doing some fun cute things at work with my patients for Halloween, those activities don't really fit in here for a variety of reasons, and there just hasn't been much in the way of spare time for me to work on anything for The Jungle. Except for this funky candle holder.


This was supposed to be a tutorial today but when I went to click on "Move" to get the photos from the camera to the computer, crazy Halloween gremlins must have gone nuts and by their evil forces forced my pinky finger to hit "Delete". Or something.


I do have photos from a different candle that I worked on, however, so I'll just go over that with you. Both are made basically the same way.


Start with a clear glass candle holder, vase, or drinking glass. Spray that with adhesive spray and let it dry. Best to turn the candle holder upside down before you spray to keep the inside clean.


Starting at the top, wrap a length of ribbon around the holder. Leave about a quarter inch of overlap.


Start your next row of ribbon by using the first strip, which theoretically is straight, as a guide. Proceed all the way down the holder to the base.


This holder had a rounded lip at the bottom so I cut a tissue paper circle just larger than the base (I guessed at the size, to be honest) and smoothed it up over the bottom. Seemed easier that trying to tape off the base, which I've done and it does leave a nice clear bubble at the bottom. But this works also.


So when I got to the bottom, I just covered the tissue paper mess with a row of ribbon. Enough of the adhesive was still exposed that I didn't even need to add any more adhesive.


Then go back and tack down the ribbon ends with a bit of adhesive. I used a little dab of Yes! Paste in this case. Eat some candy corn, add your candle, and ...


... instant easy candle holder.


I knew the second I saw this great bead fringe that it was going on this vase that I picked up last year at the Dollar Tree. It has a great outward curving lip so the beads can hang freely. I taped off the top so I didn't have to deal with trying the get the ribbon to lay flat on the curved lip and taped off a couple other strips on the body of the vase to leave open strips just for fun.


The patterned ribbon casts a lovely shadow on the wall and it would be fun to do the entire vase in a pattern sometime.


I struggle a bit with Halloween and wish that I didn't like it as much as I do. It's just an excuse for candy, costumes, and goofiness, as far as I'm concerned and we pretty much stick with fall-ish and benign activities, if we do anything. No inflatable monsters decorating our yard. If you make the argument that Halloween based in pagan tradition, then what do you say about the pagans who celebrate Christmas? Halloween is actually kind of a mish-mash of several traditions both cultural and religious. Some will tell you that Christmas is based in pagan tradition. Everyone wants a piece of the action, I guess. We have an understanding at our house that we simply don't do ghosts, vampires (oh I'm so sick of vampires), bloody body parts, etc. We've had a good bit of fun with costumes over the years but this year, seeing as my Zippy is solidly into the double digit age, I offered to just buy her a sack of candy if she ditched the trick-or-treating. She's thinking about it but she did have her heart set on being either the winged chick from the Maximum Ride series or someone from The Hunger Games.


Anyway, Halloween the past few years has gotten to be incredibly gross and graphic with much more emphasis on outright horror than I remember as a kid. Is it a reflection of our fears as a society that things are slowly slipping from our control, that the world is increasingly dangerous, or that maybe there really is true evil in the world? I have my opinions beliefs, I'm curious as to yours.


On the other hand, Halloween is also just getting stupid. Karey Hoke from Boise State wrote this article for the ArbiterOnline last year about women in trampy costumes. Still applies. Joy the Baker's post, Don't Be A Sexy Panda... is great. I love the point she makes: not only is slutty a huge disrespect to women, seriously- been there done that already. I don't by any means consider myself a prude and I made some outrageous costume choices back in the day, but let's move on now to something creative. I mean, once we believed that Angie Dickinson, Policewoman, could really chase bad guys in those heels, Halloween costumes for women were on their way to the gutter.


Image via TV Rage


One of these years I'll get it together and sew an Elizabethan gown for Halloween and there won't even be a push up bra involved. Oh my goodness, all that scrumptious fabric to role around in ....  sigh. I'm a sewer at heart.


Image via Cincinnati Weddings


Guess I've digressed pretty far from whatever topic we were on and there's probably no point in trying to get back to where we started. Go make a cute little candle holder that doesn't have eyeballs, brains, or breasts popping out of it and I'll see you next time.


Thanks for visiting today.

Wednesday, October 20, 2010

Halloween Candles, Take Two


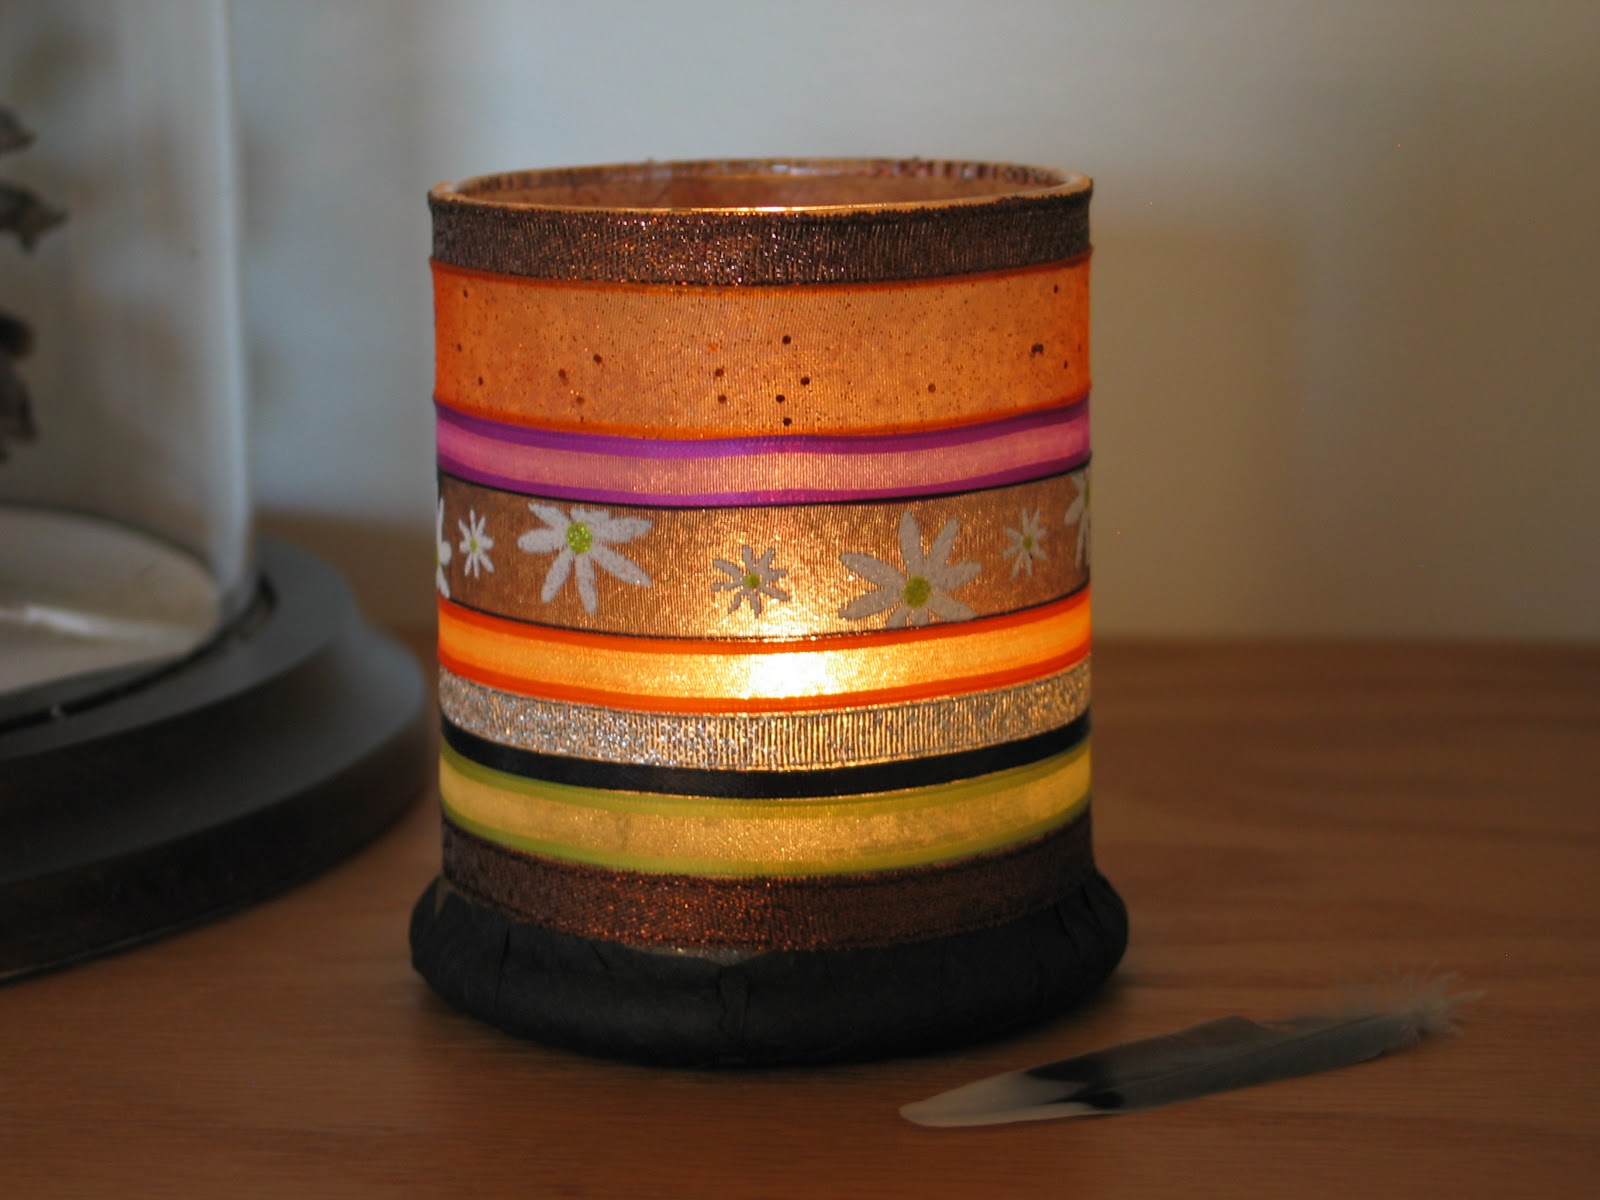
Yesterday I shared a tutorial for this little Mod Podge Halloween votive. After trying it out, I decided that it would be just a bit too "fiddly" for the patients that I have right now so I started pondering how to get a similar look that was a bit more straight forward.

I started thinking about a post I had seen over the summer on Gingerbread Snowflakes about using Mod Podge and food coloring to make luminaries and glassware. So I went back to Pam's blog to take a look and they were just as fabulous as I remembered- hit the link here to go take a peek but don't forget to come back for my Halloween version (yes, Pam has alot of really great things on her blog and you'll be easily distracted).


Here is the "less fiddly" version that I came up with using colored Mod Podge.


You'll need:

A small candle votive
Mod Podge
Food coloring- red and yellow
Wax paper
Brush
Black scrapbook or construction paper
Small container


Clean your votive and turn it upside down on the wax paper.


Pour a very small amount - like 2 tablespoons- of Mod Podge into your little container. I used one of those Glad disposable containers that I never dispose of.


Just in case you're wondering, this project goes much more smoothly if you don't drop the cap to the food coloring into your Mod Podge. I'm just sayin' ...


I started out with one drop of red food coloring and two of yellow.


It was too light and knowing that this dries much lighter and translucent...


... I added two more red and one yellow.


And then I added some more. The total came to five red and five yellow drops of food coloring.


Start painting on the Mod Podge. Some of the folks who have done this discuss things like stippleing and other techniques to get rid of the brush marks. For this project though, I thought the brush markers could serve as the vertical ribbing on the pumpkin so I didn't worry about them and there's no need for you too either.


Once the votive was coated with a nice layer, I put the lid on the Glad container and saved it just in case.


Sure enough, it dried nice and translucent but I wanted it darker so the color would stay nice and pumpkin-y when the candle was lit. So I added a second coat.


This time I added the facial features  to the pumpkin that I cut with the CriCut. Remember, he's upside down. It's OK to coat over the facial features with the colored Mod Podge as it dries translucent.

It looks like one hot spooky mess right now, doesn't it?

Follow the same steps as before to trim the edge of the rim with an exacto knife and add glitter glue around the opening at the top.


And Wa-La!


Now he looks pretty spiffy! The color is a bit deeper with this guy than with the tissue paper votive. I suppose you could tint the Mod Podge for the tissue paper version if you wanted but that seems kind of redundant. Maybe it would give some vertical pumpkin ribbing. Oh man-- now I have to make another one to see .....


There is definitely a difference in texture between the two versions.

Now, because I just have to play with the possibilities, I made another version using plain old Elmer's Glue.


I didn't use as much food coloring (start with two red and four yellow) and the colors right away appeared to be brighter. I knew from a test patch that I did the other day that the white glue does not dry as translucent as the Mod Podge when tinted so I held off with the facial features and let the first coat dry completely.


The white glue tries translucent but without the brush marks.


So I added another coat plus the facial features.


And there is our third little pumpkin. Pardon the messy glitter glue on the rim but I was rushing things along with the hair dryer and, well... things happen.


As you can see, each of our triplets has its own personality. The tissue paper guy(bottom) born first, is a bit rustic. The second pumpkin born has an old world glass look to him while the last of our triplets is smooth and almost modern with his frosty opacity.


Even when lit they have subtle but distinct differences. I guess it all comes down to what you have available- just run with it.


The surprise of how it comes out is half the fun!

Thanks for working through this project with me and please stop back again.

Tuesday, October 19, 2010

Halloween Candles


I was messing around trying to get a craft together for work the other day so I went with a tried and true project-- Mod Podge Anything! I know, this has been done- but I hadn't done it yet so away I went..

You need:
Small roundish candle votive
Orange tissue paper
Mod Podge
Black scrapbook or construction paper
Glitter glue in a bottle with a tip
Scissors
Wax paper


This perfectly shaped candle votive is from Dollar Tree.
(I know, I need to get a light box rig fixed up but my little Mom Cave play space just doesn't have much, well... space.)


Cut tissue paper into about 1 inch squares. No need to be exact.


Turn your votive over on the wax paper. This prevents the tissue paper and Mod Podge from lapping over to the inside, where it could conceivably catch fire. Safety First.


You know the drill... brush on the Mod Podge in one small area at a time...


lay on the tissue paper ...


and cover with more Mod Podge. I used the Hard Coat flavor Mod Podge for this project since the coated bottom will be in contact with surfaces like window sills, tables, etc. The Hard Coat flavor doesn't stick like the regular does at times.


Work your way around the votive until it is completely covered, overlapping the tissue squares as you go. Go ahead and add some extra patches and layers so that the orange doesn't fade when the candle is lit. Make sure to get the Mod Podge and paper all the way to the edge.  It's OK if the tissue paper hangs over the rim onto the wax paper, just be sure to use your brush to get the paper up against the votive.


I used my CriCut to cut out little pumpkin faces but free hand is just as good. Glue the face onto the votive but remember that he is upside down. I realized afterwards that the face probably needs to be just a taddy bit higher. Lower? Closer to the rim of the candle votive. OK- now let him dry completely, upside down on the wax paper.


When your little pumpkin fella is dry he will peel right off the wax paper. But he will also have these raggedy edges. I used an exacto knife to go around the rim and trim all that off.


Neat and tidy!


Next I went around the edge with the glitter glue and gave him a nice sparkly trim. Let that dry completely.


And there he is!


Of course doing one design, one time, is never going to satisfy me so I conjured up a couple friends for him. The white ghost takes an extra good layer of white tissue so it stays white when lit instead of just looking frosty.


And a cat. Everyone needs a spooky little kitten at Halloween.

Once these were done I started thinking about the patients I currently have and this may be too fiddly, mainly because the tissue paper can be hard to see once you start coating it with the Mod Podge.

So, what to do ....

Check back tomorrow and I'll show you Take Two of the Halloween votives.