

Last time I shared my fun and adventures with becoming a knitter. Well- OK, with learning how to cheat at knitting with a neat-o gadget called the Knifty Knitter. Today we're going to look at the Knifty Knitter gadget for making flowers.

I originally assumed that this was to be used with yarn but the directions that come with it say to use raffia. No raffia in the house so ribbon was the winner!

The pegs on the knitting hoops, while removable, fit fairly securely into the holes on the frame so I was kind of sputtering and fussing about how these pegs kept falling out. In fact, I came very close to super gluing them into the holes. Don't do that!! This is an instance where it would have been helpful to read over the instructions first but I was so excited to start...
Anyway,
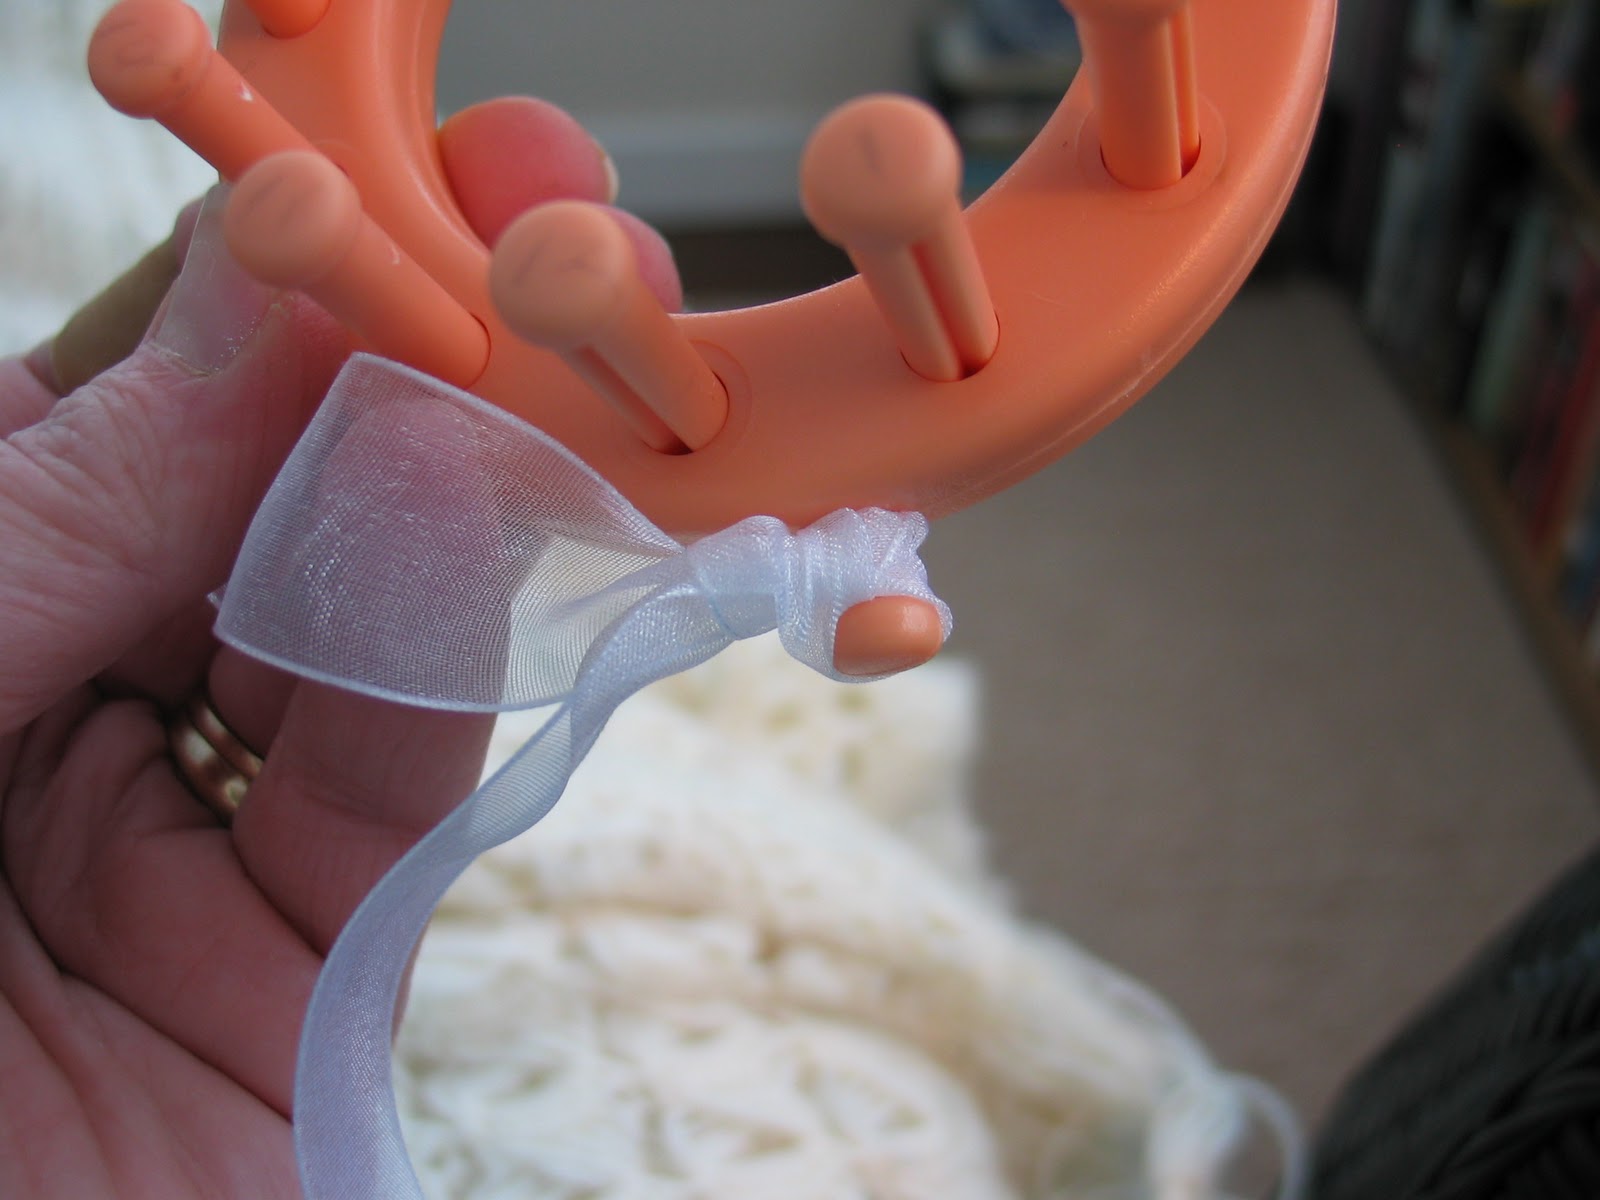
Secure the end of the ribbon onto the side peg, leaving about 6 inches or so.

Pull the ribbon straight across and wrap around the 6th peg from left to right. Come back to peg 1 and wrap around peg 12 from right to left (opposite).

Turning the loom a bit with each peg, continue wrapping in the same manner all the way around the loom.

Back to peg number 1.

Now do it again, same way, until you have gone around the look a total of three times. Yes, three. Do you want a fluffy flower or what?

Tie the end to the anchor peg and cut the ribbon, leaving a tail.

Cut a length of ribbon for the center of your flower, about 18 inches or so, and secure that to the anchor peg (it's getting crowded on the anchor peg, isn't it?).

Come up from the bottom, between two pegs, cross over the top of the flower, and go down between the two pegs directly across. Come up between the to pegs to the left of your starting point, go across and down between the two pegs to the right of where you went down the first time. It sounds worse than it is when you're doing it. Go all the way around ...

... until you've come up between each peg.
Make sure you pull the center ribbon up nice and snug.

Now go around again only this time come up between the ribbon strands that loop around each peg, not between the pegs. Again, pull the ribbon snug but don't strangle it. Go all the way around.

Now you have a nice full center for your flower.

Now turn the loom over and tie off all the loose ribbon ends. Sorry about the picture-- I've been having trouble with the focus on this camera.

Take your flower off the loom by ..... pulling out the pegs! So glad I didn't super glue them into the holes!!

Yeah-- signs of spring! The loops of ribbon will be kind of folded from looping it around the pegs so go ahead and fluff them apart one at a time.

Band-Aid does not come with the kit so you're on your own there. No, it wasn't a Knifty Knitter injury.

It's so fluffy !

Another one with a nice sheer ribbon.

And a heavy ("6") yarn.

This one was made with grosgrain ribbon. It has a really cool feel to it but is heavier than the others so you would want to make sure that whatever you attach it to would not sag under it's weight. If you made it with brown ribbon for the center you would have a great sunflower.
The literature that comes with the kit suggests using these flowers, made from raffia, for packages and gift bags. Cute. Ribbon ones would be fun too. The directions also suggest gluing a pin back onto a ribbon for a little shazaam on your lapel. Cute!!
These flowers take about 15 minutes each at most to make, once you've humped over the learning curve. A great thing to do out on the enclosed porch during yet another snow storm, heat on high, dreaming of spring...

... when it ain't spring.
Yet.
Hope you had fun today. Thanks for looking in on me.

No comments:
Post a Comment