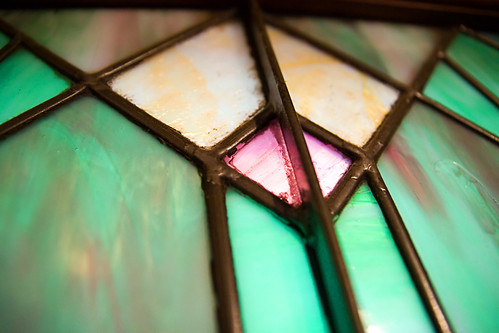
 |
| photo by Timothy Smith |
I love glass- stained, fused, blown, etched, whatever. I've played around some with fused glass (jump over here to see a bit) but stained glass has always seemed just out of my reach for some reason. I have a couple of friends who are talented and fabulous glass artisans and I love to see their work. Even though I understand the principle and the process of creating a stained glass piece, something about it just says, "Behold, lowly knave-girl, you are unworthy of cutting your fingers on my glass parts." Or something like that.
So we'll just do what all good faux artisans like myself do in a pinch-
we'll fake it!
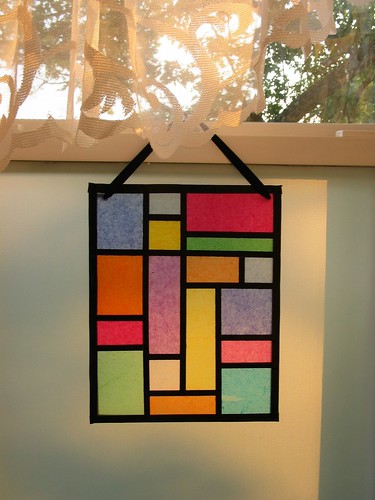
Go ahead- guess what this "stained glass" is made out of.
Yes- tissue paper!
Throw in some Mod Podge and we're good!
This project is easy, cheap, and colorful. That's like the trifecta of the perfect craft, especially given that even those who call themselves craft-impaired can do this project. So let's get going.
Go to where ever it is that you keep your wrapping paper and dig out all the colored tissue paper. If you only have white (really?) go get some cheap, non-bleeding tissue paper. Seriously- don't spend bunches of money on it. You'll also need:
Mod Podge (cue angelic choir -- Laaaaa!)
Black electrical tape (go ahead, take it. Your fella won't miss it for days)
Black scrapbook paper or construction paper in a pinch (construction paper will begin to fade sooner)
Ribbon
Acrylic sheet
You can get these at one of my favorite stores for craft supplies- Lowes. Cheap- $1.79 or something for an 8 x 10. They come in all sizes (8 x 10 being the smallest). Just remember as you are looking at the selection (in the glass cutting area), you will one day see a post here at The Butt Jungle (OK, my kid made that up) of a project made using the very biggest honkin' size they have available. Just wait for it.
And a drill. I used a Dremel. Get your won't so you don't have to share with him.
Drill a hole in each top corner, about a half inch in from the edges, using a 3/16 inch bit. The acrylic drills very easily. I asked one of our facilities guys at work to drill holes in a bunch of sheets before a class and he stacked about 6 of them together and used a larger drill and bit size.
Don't do that- it's too much juice for our little piece of acrylic.
After you drill the holes, remove the protective sheeting from both sides of the acrylic.
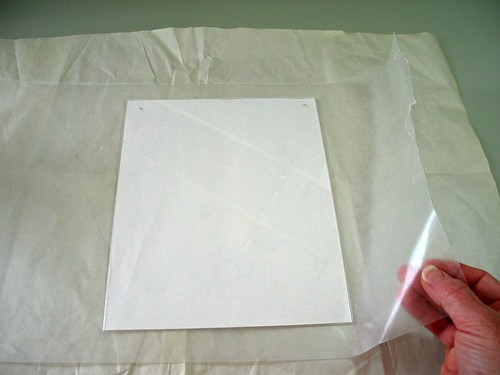
Protect your work surface. I use waxed paper. In the above photo, I've placed a piece of white paper cut to size under the acrylic. When I do this with patients at work, this helps to define the acrylic size better as the design is worked out since some of my folks have trouble seeing the acrylic. Actually, it is best to put your acrylic aside and work out the design directly on the paper. This step saves alot of frustration when it comes time to Mod Podge everything down to the acrylic- no need to gingerly slide the tissue off your acrylic or try to remember how it was placed. Just move the tissue onto the acrylic as you go.
And yes, "to Mod Podge" is a verb.
OK, moving on...
Start laying out your design. You'll notice that I'm not following what I just said about not working out your design right on the acrylic sheet, but please, do as I say, not as I do. Sometimes it's good to have an idea in mind as to how you want your piece to look but sometimes it's fun just to fool around and see what happens.
As you work on your design, keep in mind that the areas where the tissue overlaps will be darker and can be used as part of the design process. Overlapping different colors can create a third color but the tissue color on top will be the dominant color. Usually.
As you work on your design, keep in mind that the areas where the tissue overlaps will be darker and can be used as part of the design process. Overlapping different colors can create a third color but the tissue color on top will be the dominant color. Usually.
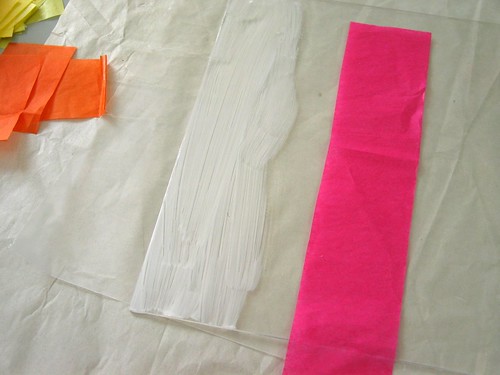
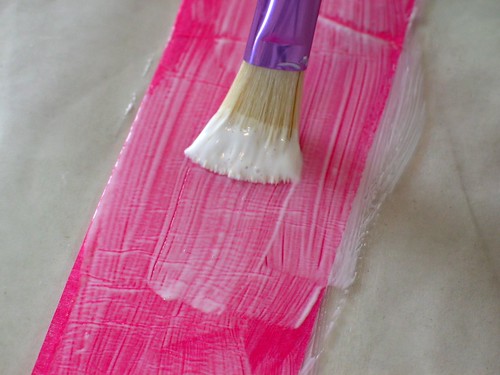
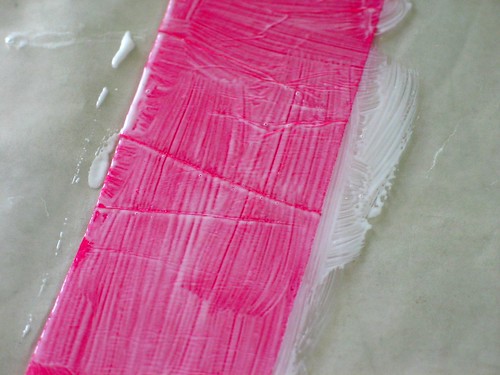
Once you get your design worked out, it's time to start fixin' the paper to your acrylic. Apply a good layer of Mod Podge to one area at a time. Don't coat the entire sheet but rather work in sections based upon the size of your tissue paper.
Next, place your tissue onto the pre-Mod Podged spot on the acrylic and cover with more M.P. Don't worry too much about wrinkles in the paper.
You can smooth them out with your brush but generally they add that textural quality seen in real stained glass. If you should tear your tissue while gluing it down, simply smooth it back into place as best as you can and add a patch of tissue on top. No worries. And it's OK if your tissue paper juts over the edge of your acrylic sheet. We'll take care of it later.
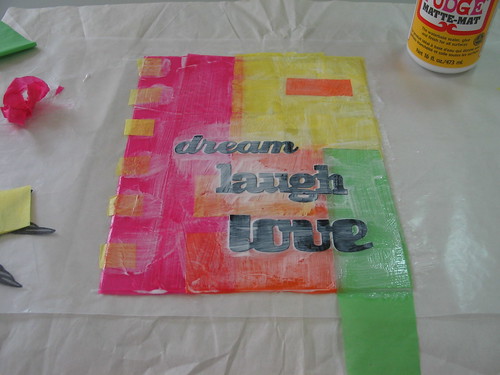
Once you have all of your tissue glued into place, it's time to add other elements. For this project I used these words that were left over from another project. These were cut out from black scrapbook paper with a CriCut cutting machine. Just go get one. You can also use any silhouette or shape that interests you: swallows, butterflies, flowers, leaves, a house, a horse, whatever. Oh hey, wouldn't your kid's silhouette be cool?
(Speaking of "faux", how 'bout that faux tattoo. It's a long story. But I kind of like it.)
For this project, I placed the words onto the tissue while the Mod Podge was still wet. Make sure everything has a nice layer of M.P. to seal it all down. Let it dry thoroughly before proceeding.
Once everybody is dry, trim any stray tissue that may be hanging out over the edges.
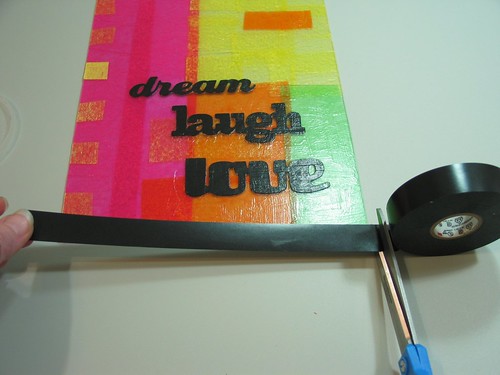
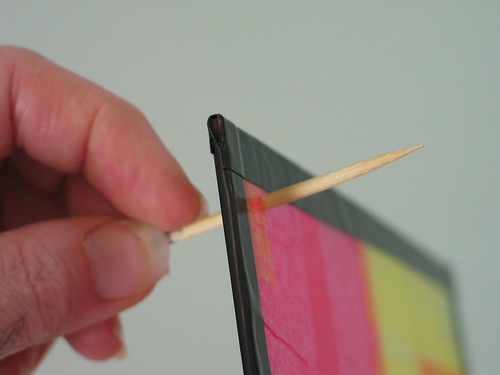
Next, wrap the edges of your project using electrical tape. Cut lengths slightly longer than each side and center it over the edge before smoothing it down. Electrical tape is stretchy so don't pull on it- just let it relax and wrap it around the edges without stretching or tugging. You can find packs of narrow colored tape in the hardware stuff at the store or I'm just now thinking about Japanese masking tape. Hmmm...
Clear the holes at the top of your sheet. Shish-ka-bob skewers work well.
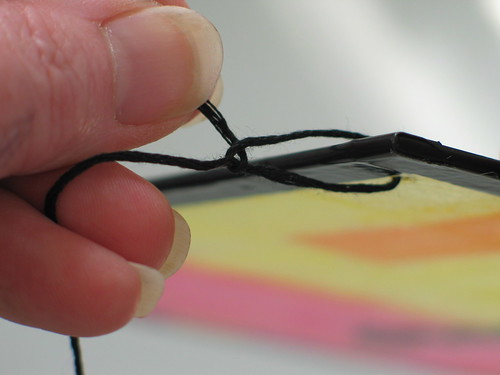
Finally, thread your ribbon, twine, embroidery floss, etc through the holes.
Ta-da !
OK, let's talk details. Once everything is dry, the tissue has a tendency to peel off the acrylic sheets with very little difficulty.
On the other hand... that tendency to peel doesn't have to be all bad. If you do this project with kids, you can do the entire project on a mirror or spare picture frame glass, peel their art off when it's dry, and tape it onto a window.
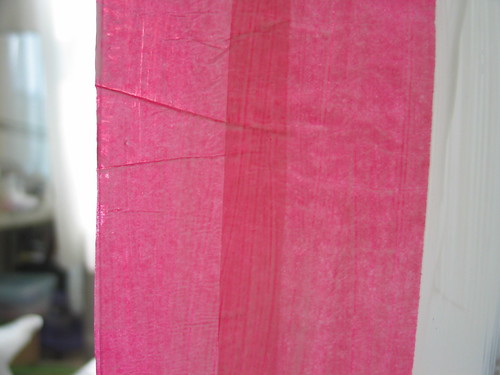
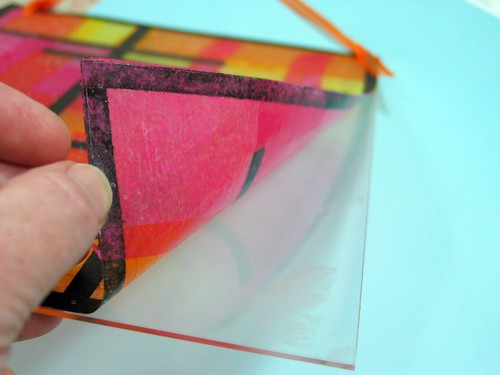
If you're doing this with many participants and/or cost is a factor, get a pack of the clear binding covers that you use for comb-binding. Same thing- wrap the edges with electrical tape or peel it off. If you leave your project on these covers, keep in mind that the stained glass will be floppy, not rigid.
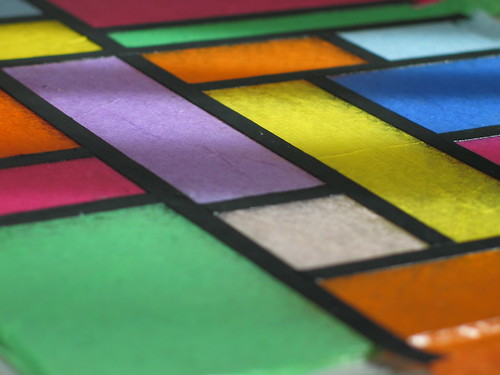
My kid did these two on the binding covers.
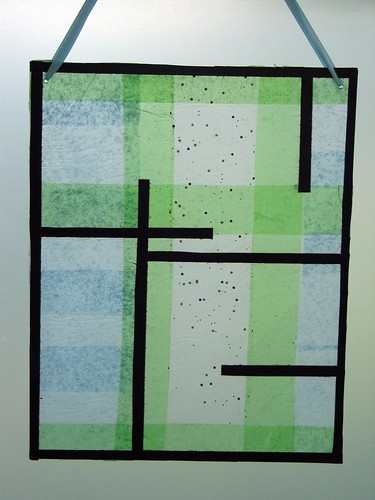
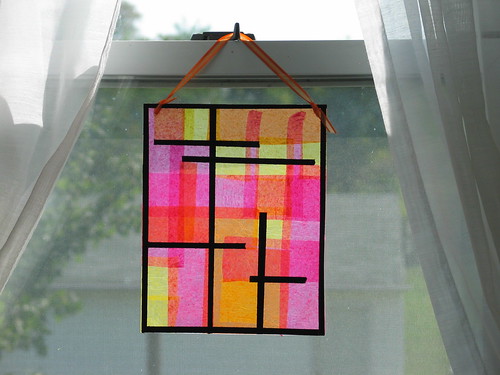
This one was done on acrylic but the edges were not bound. I cut 1/4-inch strips of black scrapbook paper to use for the decorative elements (the "leading") and the edging. It's OK but it looks a bit ragged.
I searched all over my town for copper tape. Now wouldn't that make a nice edging? And hang with a chain? Nice- but then I figured the copper tape edging and the chain would be so much more costly than the rest of the project...
The polka dots in the project pictured above are actually glitter in the white tissue paper.
This one, done on the binding cover, has glitter glue swirls.
This one has been hanging in my window for most of this very hot and sunny summer to see how quickly it fades. I'm assuming that it will eventually fade but so far it's lookin' pretty good. It is peeling though.
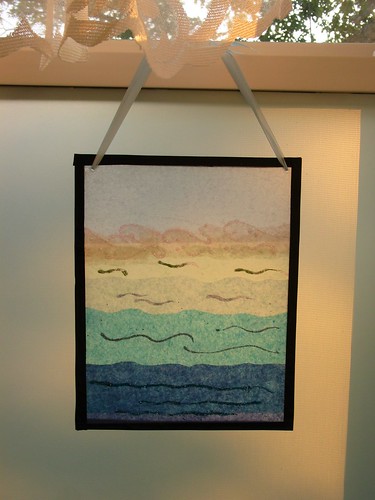
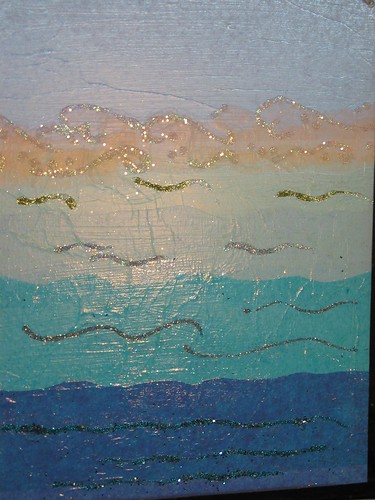
An under sea themed project ...
... with sparkly glitter glue waves and currents.
For this project, I did let the whole thing dry before I started piecing the scrapbook paper "leading". I used a glue stick to tack the strips down and then coated the whole baby with Mod Podge.
One last thought. If you made these faux stained glass projects on mirrors or spare glass, perhaps even using plain white glue (from the Dollar Store of course) these can be made so inexpensively that you could make them for seasonal decorations. Just change them out when it's time to move on. So there may be seasonal updates to this post.
If you make this project, as always, I would love to see it!
Have a good day --and those aren't "faux" wishes.












I just found you via Craft Gossip. This is absolutely gorgeous. Love it.
ReplyDeleteTHIS has made my day. I am SO going to do this! Wish my love of stained glass, but lack of patience, this will be a great project for me and my kids.
ReplyDeleteTHANK YOU!
Beautiful....Love it.....love your work....;o)peace & love, Rosie
ReplyDeletehttp://mycrochetknitting.blogspot.com
I LOVE these!! The under the sea one is my favorite. :D
ReplyDeleteWow! I love this. I may invest in some MP now. Used to have some, but haven't decoupaged in awhile.
ReplyDeleteGlad I found your blog. 8-)
I think this is just the coolest project. Easy and pretty.
ReplyDeleteI can't wait to try this soon. Good project for kids.
ReplyDeleteMod Podge is so amazing. What a fun, fun project! I just clicked over from Craft Gossip and I'm so glad I did. I would love to link to this if you didn't mind.
ReplyDeleteThanks everyone for all the lovely comments. This is a fun project that I've done with kids as well as adults and the results are always fun. Hope to see some of your masterpieces.
ReplyDeleteWOW - love that smile one. it's beautiful. it makes me think of watercolor.
ReplyDeleteThese are wonderful. What a fun creative project for kids.
ReplyDeleteSeen this on One Pretty Thing....
ReplyDeleteI had to get a better look. It is lovely!
I need to try this, I love it!
Beautiful! I will be linking to this in November!Don't you just love the possibilities - Mod Podge and tissue paper? Great marriage of materials.
ReplyDeleteCan you tell me where I can find no-fade tissue paper? Joanns or Michaels doen't carry it.
ReplyDeleteI usually pick up tissue from the gift wrapping section at Wal-Mart or similar places. If you keep brushing over the tissue, most will smear color a bit but regular gift wrapping tissue works well. I've had the one pictured fourth from the bottom hanging in a window that gets plenty of harsh sunlight for about a year and a half and it is only now beginning to fade. Depends on the tissue, I'm sure but these are so easy and cheap it's a snap to make another one. Have fun! I would love to see how yours come out. Thanks--
Delete